Power Drill as Sander: Practical Attachment Guide
By Casey Bennett • 10th Oct
You've probably wondered if your trusty power drill could pull double duty as a sander, especially when you're in the middle of a project and realize you need to smooth some rough edges. The good news: with the right attachment, your drill can absolutely handle light sanding tasks. But before you grab any old sanding disc and start attaching it, let's get real about what works, what doesn't, and how to avoid common pitfalls that leave beginners frustrated.
I remember my neighbor nearly gave up DIY projects after stripping screws on a bookshelf, until we focused on small wins with proper setup. That same principle applies here: when you're using a drill for sanding, getting those first few revolutions right makes all the difference. Win the first hole (er, the first stroke) and you'll build confidence to tackle more.
FAQ Section: Using Your Power Drill for Sanding Tasks
Can I really use my drill for sanding?
Yes, but with important caveats. Your drill becomes a viable sanding tool when you pair it with the right attachment for the job, not all drill attachments for sanding work equally well. Think of this as a "light duty only" approach. If you need to remove significant material, flatten a large surface, or achieve a glass-smooth finish, you'll want a dedicated sander. But for:
- Quick touch-ups on tight corners
- Light material removal in hard-to-reach spots
- Smoothing small projects like picture frames or cabinet edges
- Quick sanding between paint coats on trim
...your drill can be surprisingly effective. The key is matching the attachment to your specific task rather than forcing your drill to behave like professional sanding equipment.
What attachments do I need to turn my drill into a sander?
There are three main types of drill attachments for sanding that work reliably:
1. Hook-and-Loop Sanding Disks These velcro-backed pads attach to a backing plate that fits in your drill chuck. Start with 80-120 grit for material removal, then progress to finer grits. They're affordable and great for beginners because they're reusable and easy to swap.
2. Flap Disc Attachments Ideal for light contour sanding on curved surfaces, these consist of overlapping abrasive flaps mounted on a circular base. They're perfect for smoothing rounded edges on projects like chair legs or banisters.
3. Right-Angle Sanding Heads For tight spaces like cabinet interiors or between studs, these attachments convert your drill's rotation to a right angle, giving you access where standard sanders can't reach.
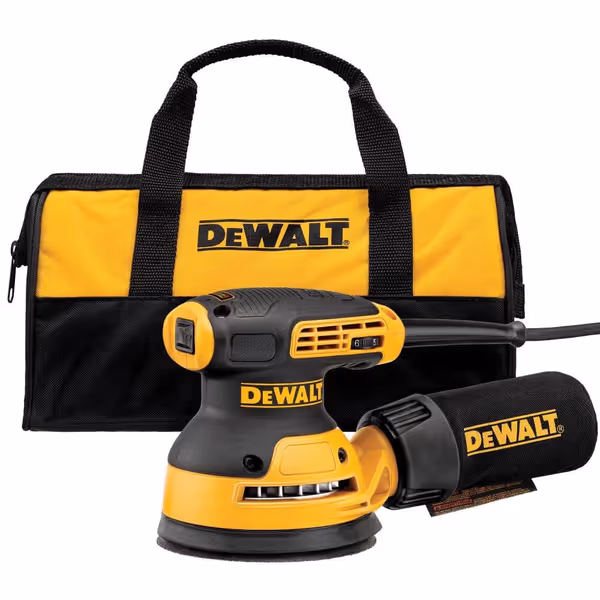
DEWALT Orbital Sander Kit (DWE6423K)
Effortless, smooth sanding with superior dust control and user comfort.
$99
Motor3.0 Amp
Motor3.0 Amp
Pros
Superior dust collection keeps workspace clean.
Reduced vibration for extended, comfortable use.
Variable speed control for diverse tasks.
Cons
Dust port may require adapter for non-DEWALT vacuums.
Customers find this orbital sander to be a quality tool that works terrific, with superior dust collection capabilities and minimal vibrations. They appreciate its ease of use, with one customer noting how sheet loading and changing is a breeze. The variable speed feature receives positive feedback, and customers praise its effectiveness, with one mentioning it does a great job with all grits. Customers consider it good value for money.
Customers find this orbital sander to be a quality tool that works terrific, with superior dust collection capabilities and minimal vibrations. They appreciate its ease of use, with one customer noting how sheet loading and changing is a breeze. The variable speed feature receives positive feedback, and customers praise its effectiveness, with one mentioning it does a great job with all grits. Customers consider it good value for money.
Before attaching anything, unplug your corded drill or remove the battery from cordless models. Safety first, always!
What are the limitations of using a drill as a sander?
Your drill wasn't designed primarily as a sander, so be aware of these constraints:
- Speed control: Most drills lack constant speed under load, meaning they'll slow down when pressure is applied (unlike dedicated sanders with constant speed control)
- Vibration: Without counterweights, sanding can transmit more vibration to your hands
- Dust collection: Drills lack integrated dust ports, making cleanup messier
- Precision: Without orbital or random motion, you're more likely to create swirl marks
This is where understanding your drill's power limitations matters. If you try to use too much pressure or too coarse a grit, you'll burn through material quickly or create uneven surfaces. Remember: light pressure and consistent motion trump brute force every time.
How do I get professional-looking results with a drill sander?
Follow these beginner-friendly steps for success:
- Select the right speed: Set your drill to the lowest speed setting (usually 1) for maximum control. You want to feel the tool, not fight it.
- Use proper grip technique: Hold the drill with both hands (one on the handle, one supporting the front near the chuck). This reduces vibration and gives you better control.
- Apply light pressure: Let the abrasive do the work. Pushing too hard actually reduces effectiveness and creates swirl marks.
- Move continuously: Keep the tool moving in small overlapping circles. Never let it sit in one spot.
- Progress through grits: Start with 80 grit, then move to 120, then 180. Don't skip steps for a smooth finish.
- Check your progress frequently: Stop every 15-20 seconds to inspect your work and avoid over-sanding.
Can I use my drill as a polisher too?
Absolutely, this is where multi-purpose drill techniques shine. Switching from sanding to polishing requires just a few simple changes:
- Replace your sanding disc with a buffing pad
- Use a lower speed setting (if your drill has variable speed)
- Apply polishing compound to the pad
- Use light, circular motions with minimal pressure
The same drill as polisher technique works great for:
- Bringing out wood grain after sanding
- Polishing metal fixtures
- Giving a final shine to painted surfaces
Just remember: different materials need different compounds. For wood, use a wax-based polish; for metal, choose a metal-specific compound. Never use the same pad for both without thorough cleaning.
When to Choose a Dedicated Sander Instead
While your drill offers impressive versatility, there are times when stepping up to a dedicated sander makes sense:
Choose your drill when:
- Working on small, detailed areas
- You only need occasional light sanding
- You're in a pinch and don't have a sander
- You're working in extremely tight spaces
Choose a dedicated sander when:
- You're working on large flat surfaces
- You need consistent, swirl-free finishes
- You're sanding for more than 15-20 minutes at a time
- You need dust collection capabilities
I've seen too many beginners buy max-torque tools they rarely use, when they actually needed something that would grow with their skills. Start with the project, then match the drill and batteries.
Final Thoughts: Your Next Steps
Using your power drill for sanding isn't about replacing your entire toolkit, it's about working smarter with what you already have. When you approach each project with the right attachment and realistic expectations, you'll find your drill handles more tasks than you thought possible.
For your next project, try this: pick one small area that needs sanding, attach the appropriate disc, and focus on winning those first few strokes. When you feel that smooth transition from rough to refined, you'll understand why small successes build the confidence to tackle bigger challenges.
Ready to explore further? Check manufacturer websites for compatible attachments for your specific drill model, and look for beginner sanding kits that include multiple grits and backing pads. Your local hardware store's tool department can also help you find the right match for your drill. Just bring it with you!
Remember: confidence comes from small wins with the right setup. What project will you tackle first with your newly versatile drill?
Related Articles