Smart Home Installation Drilling: Build Your Confidence
By Casey Bennett • 6th May
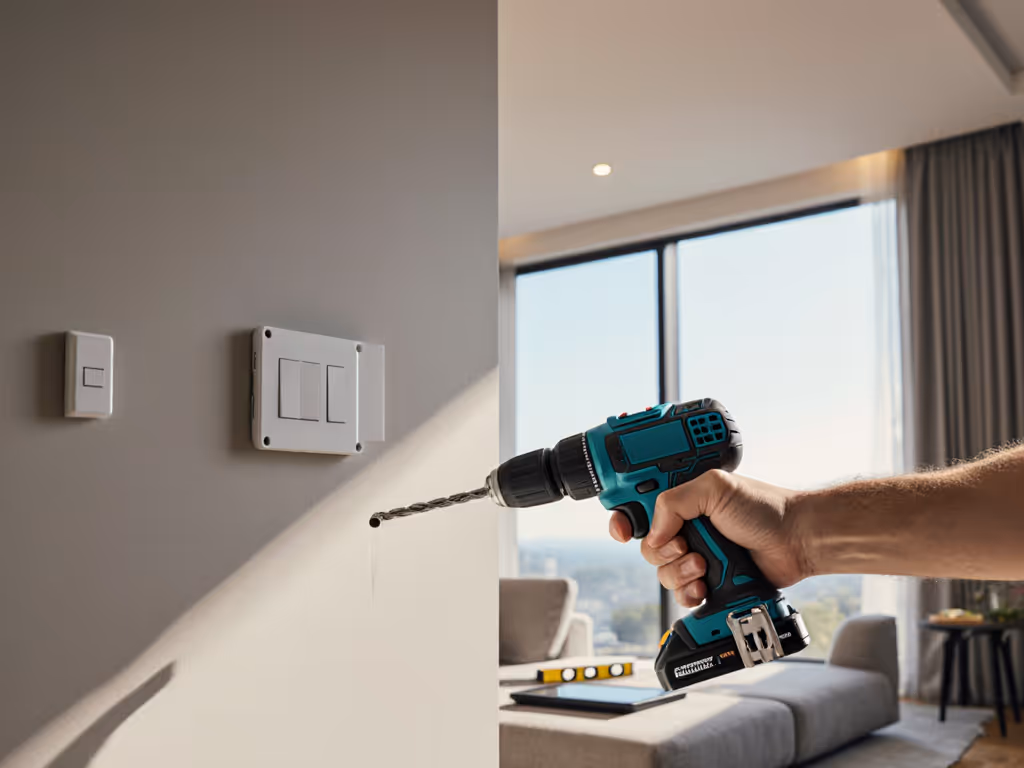
When you're ready to mount your first smart thermostat, hang a wall-mounted smart display, or run wiring for a home automation system, the drilling task feels straightforward, until you realize that smart home installation drilling demands more precision than hanging a picture frame. The stakes are higher: you're working near drywall studs that hide electrical wires, you need clean holes that won't damage sensitive device backs, and your pilot holes must be dead-on to avoid visible damage or misalignment. Before drilling, review our power drill safety guidelines to avoid hidden hazards. Unlike standard shelving or deck work, automated home drilling techniques require a blend of finesse, forethought, and the confidence that comes from knowing your setup will deliver.
This guide walks you through the fundamentals of smart home drilling, from choosing the right tool to mastering your first successful hole. By the end, you'll have a repeatable workflow that removes guesswork and builds the small wins that unlock bigger projects.
Why Smart Home Installation Drilling Differs from Standard Tasks
Smart home devices sit on highly visible interior walls, often in living rooms, kitchens, or bedrooms. That means your holes must be invisible or barely noticeable (no oversized entrances, no splintered surrounds, no off-target attempts that leave repair marks).
Key differences:
- Material sensitivity: Drywall around smart devices is thinner and more prone to crumbling than workshop materials. One wrong speed or pressure can tear the surface.
- Clearance constraints: Thermostats, displays, and hubs have narrow mounting points. A pilot hole even slightly off-center can prevent proper fitting.
- Electrical proximity: Many smart home devices live on walls where electrical circuits are hidden. A stray drill bit through the wrong spot is a safety hazard and a code violation.
- Aesthetic impact: Unlike a garage wall, your family sees these holes daily. Precision isn't optional, it is a home comfort issue.
This is where drilling for smart thermostats and wall mounting smart displays demand a different mindset: start with the project, then match the drill and batteries.
Start with the Project, Then Match the Drill and Batteries
Before you touch a drill, understand what you're actually doing. Are you:
- Drilling pilot holes for wall anchors in drywall?
- Drilling through drywall into a stud for a screw?
- Preparing access for running home automation wiring tools behind a wall?
- Drilling through solid backing (wood or metal) for a display arm?
Each scenario calls for different bit sizes, speeds, and control. A drill that's powerful enough for masonry work will shred drywall if you're not careful. Conversely, an undersized tool will slip and cam out, ruining your hole.
Start with the project, then match the drill and batteries. This simple rule prevents expensive mistakes and builds confidence from day one.
For smart home work, a compact drill with adjustable clutch control is ideal. Smaller form factors fit into tight spaces above cabinets and inside closets. Adjustable clutch lets you dial back torque so you can't accidentally strip fasteners or blow through drywall. Batteries in the 18-20V range (not maxed-out monster power) give you all the speed and torque you need for this class of work, with less overshoot and better control. If the 18V vs 20V MAX labeling confuses you, see our 18V vs 20V guide for clarity.
Step-by-Step Setup for Your First Smart Home Drill
Step 1: Gather Your Materials
- Compact drill with clutch settings (1-5 or similar range)
- Correct bit size for your fastener or pilot task (typically #2 Phillips, 1/16", or 1/8")
- Stud finder and pencil
- Safety glasses
- Level or straight edge
- Tape for marking (painter's tape or masking tape)
- Small level
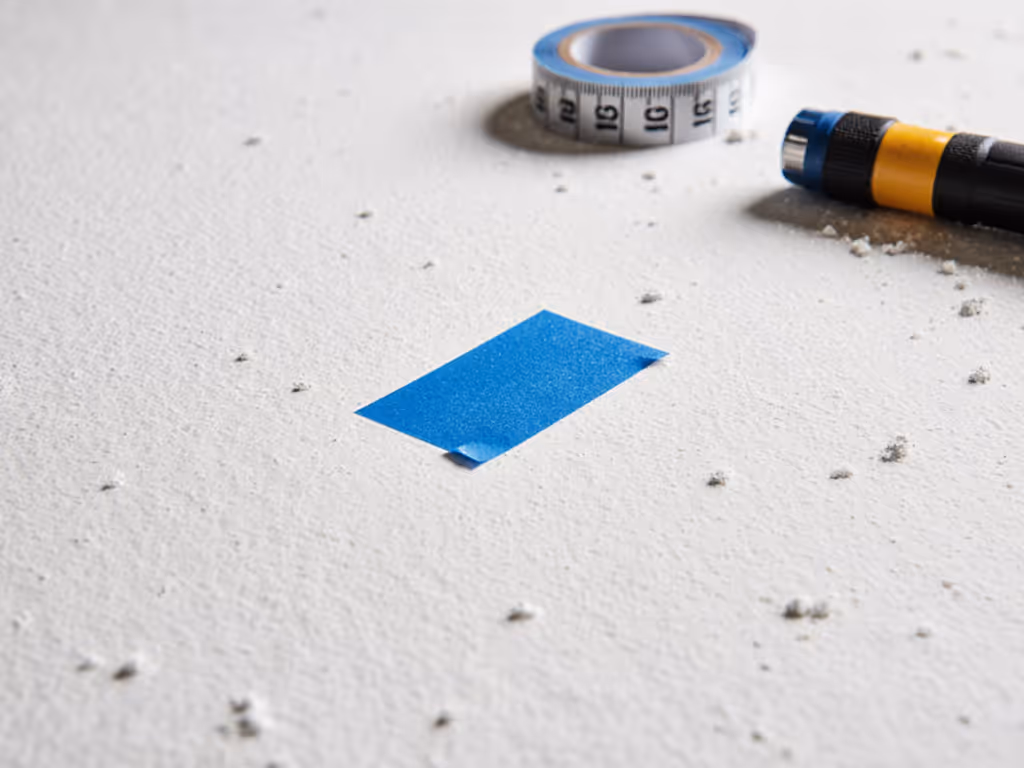
Step 2: Mark Your Pilot Points
Use your stud finder to locate wall studs. For stud-finding and anchoring tips while mounting heavy displays, follow our TV mounting drill guide. Mark the stud location with a light pencil mark. Measure twice and mark your exact hole location with an X or a small dot.
Tape a small piece of painter's tape directly over your mark. Tape acts as a visual guide and reduces the chance of your bit wandering on the initial spin-up. It also prevents drywall dust from spraying everywhere.
Step 3: Set Your Clutch
This is the magic step. Locate your drill's clutch collar (usually a ring around the chuck). Set it to the lowest torque number, often marked 1 or 2. You can always increase it if needed; you can't undo a stripped screw or blown-through drywall.
Step 4: Pilot First
Fit a small pilot bit (1/16" or 1/8", depending on your fastener size). Align the bit with your marked point, press gently, and go slow. Let the drill do the work; don't push hard. Once you've made a shallow indent, you've won the first hole (the moment that breaks the mental barrier and proves your setup works).
Step 5: Follow Up with the Main Hole
If your project calls for a larger hole, switch to the appropriately sized bit. Use the pilot hole as a guide; your bit will naturally track into it. Again, gentle pressure and moderate speed (no heroics).
Mastering Clutch Control and Precision Techniques
Precision drilling for IoT devices hinges on understanding how your clutch translates to real-world performance. The clutch is your secret weapon. When you feel the drill begin to bind or twist in your hand, the clutch will slip before your wrist does, and before the fastener strips. This is active torque limiting in action. For a deeper dive into how clutches work and how to set them, read drill clutch mechanics.
- Test your clutch first: On scrap drywall or cardboard, test the same clutch setting and bit size you'll use on your real project. Drive a sample screw home to see how it behaves.
- Speed matters: Slower speeds give you finer control. Smart home work typically doesn't demand full RPM. Dial your drill to the low or mid range.
- Pressure is not power: A common beginner mistake is leaning hard on the drill to "make it go faster." It doesn't. Light, steady pressure is more effective and safer.
- Trigger modulation: Use a light finger to feel the drill's resistance. If it starts to strain, ease off the trigger or stop entirely. Listen for the sound: a smooth whine means you're doing it right; a grinding or stressed tone means you're pushing too hard.
Building Momentum: Win the First Hole, Then the Next
Success builds confidence. When you win the first hole (drill a clean, well-placed hole with no tears, no misalignment) you unlock the psychological shift that turns hesitation into action.
My neighbor faced this exact moment. He'd stripped screws on a bookshelf project months earlier and never touched a drill again. When he needed to mount a new smart thermostat, we marked the pilot points with precision, dialed his compact drill's clutch low, and went slow on the first anchor. That hole came out perfect. Then the second. By the time he finished the project, he wasn't scared, he was eager to plan the next one. His confidence didn't come from raw power or a maxed-out specs sheet. It came from a forgiving setup and repeatable technique that delivered visible wins.
Confidence comes from small wins with the right setup. Trust the process, and you'll earn the freedom to tackle bigger projects.
Common Pitfalls and How to Avoid Them
- Spinning too fast: High RPM on drywall causes tear-out. Dial it down.
- Skipping the pilot hole: A pilot hole saves time and frustration downstream. Always invest in this step.
- Ignoring the stud finder: Drilling through an electrical wire or water line is catastrophic. Take 30 seconds to verify what's behind the wall.
- Not testing your setup first: A scrap piece of the same material as your target wall is your insurance policy.
- Pushing instead of guiding: Let gravity and the drill's motor do the work. Your job is to aim and support, not shove.
Planning Your Next Projects
Once you've completed your first smart home installation drill, you've proven the setup works. That platform (drill, batteries, bits, and technique) scales to your next projects.
Keep this workflow handy:
- Identify the task (pilot hole, fastener driving, wiring access).
- Choose the correct bit.
- Dial the clutch to a conservative setting.
- Mark and tape your point.
- Go slow and let the tool work.
- Test on scrap first if you're uncertain.
Moving Forward
Smart home installation drilling isn't mysterious or risky when you approach it with a clear head and the right setup. You don't need the most powerful drill on the market, you need one that fits the job, forgives mistakes, and builds your confidence through repeatable success.
Your next step is to identify one real project (a thermostat mount, a display bracket, or a sensor hole) and commit to following these steps. Set your clutch, mark your first hole, and prove to yourself that precision drilling is within reach. Once you've made that first clean hole, you'll be ready to think bigger. Ready to choose a kit tailored for home automation work? Check our smart home installation drill picks before you buy. Consider documenting your process with photos, exploring how other installers in your area tackle similar mounting challenges, or diving deeper into the materials science of different drywall types and how they respond to various drilling speeds. The path forward is yours to chart, armed now with the fundamentals and the confidence to execute them well.
Related Articles