Precision Plumbing Drill Techniques That Prevent Leaks
By Casey Bennett • 11th Nov

When my neighbor accidentally drilled into a water pipe during a simple shelf installation, it turned a 20-minute project into a flooded basement. The culprit? Using a heavy-duty drill on the wrong setting for PVC pipe. Plumbing drill techniques aren't just about making holes (they are about preventing disasters) through intentional setup and controlled execution. As a beginner-friendly drill specialist, I've seen how the right approach transforms anxious DIYers into confident problem-solvers. Let's explore practical methods that keep water where it belongs: inside your pipes.
Confidence comes from small wins with the right setup, not maxing out torque specs.
Why Plumbing Drilling Demands Special Care
Unlike wood or drywall, plumbing pipes hide critical risks behind every drill point. A single slip can cause:
- Catastrophic leaks from punctured supply lines
- Structural damage from slow seepage under slabs
- Costly emergency repairs that derail your entire project
The key difference? Pipe drilling guide requires precision over power. Water pressure ranges from 40-80 PSI in residential systems, meaning even a pinhole leak can unleash gallons per minute. I've watched homeowners strip clutches trying to force drills through copper, only to create jagged holes that worsen leaks. Your goal isn't speed; it is controlled penetration. For foundational precautions and PPE, see our power drill safety guidelines.
Step-by-Step: Leak-Proof Drilling Technique
Step 1: Prepare Like a Pro (Before You Touch the Trigger)
Stop. The water shutoff valve installation isn't optional. Skipping this turns drills into demolition tools. Follow this checklist:
- Locate ALL shutoffs: Main supply + fixture-specific valves (many homes lack the latter!)
- Test shutoffs: Turn off water then open a faucet to confirm flow stops
- Drain pipes: Open highest faucet in house, then lowest (basement/slab) to purge residual water
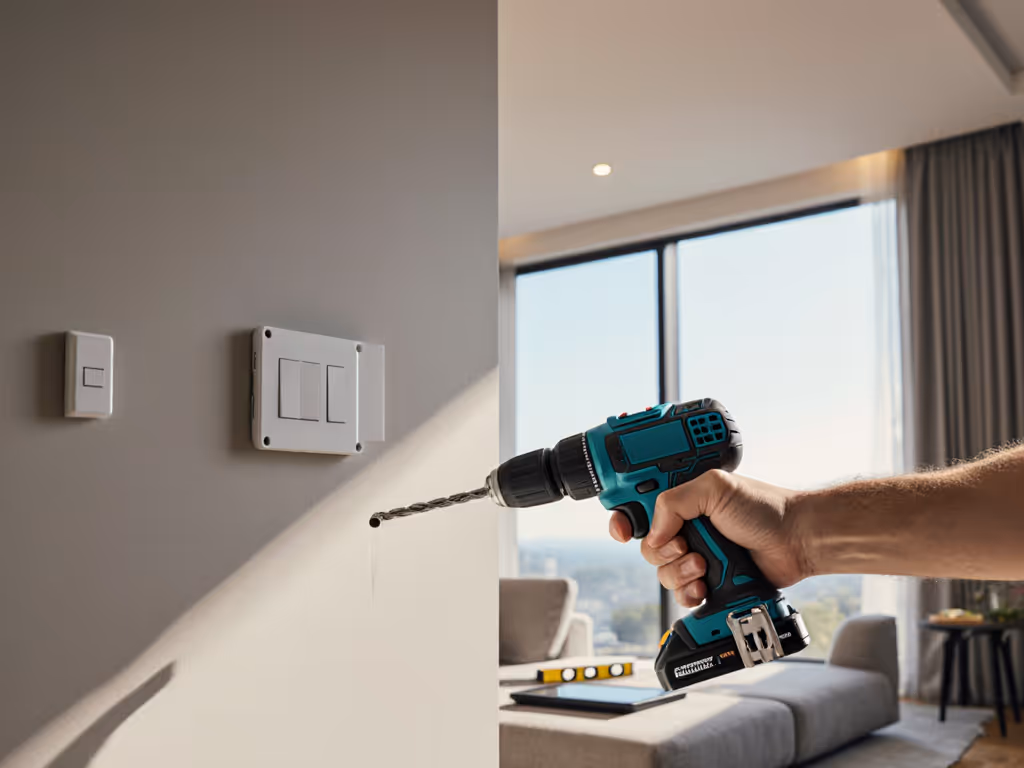
- Map pipe paths: Use a stud finder with stud mode disabled (metal pipes trigger similar alerts). Mark every 6" along suspected routes with painter's tape
Pro tip: Place a shop vac hose under the drill zone. If you nick a pipe, it catches drips before they spread.
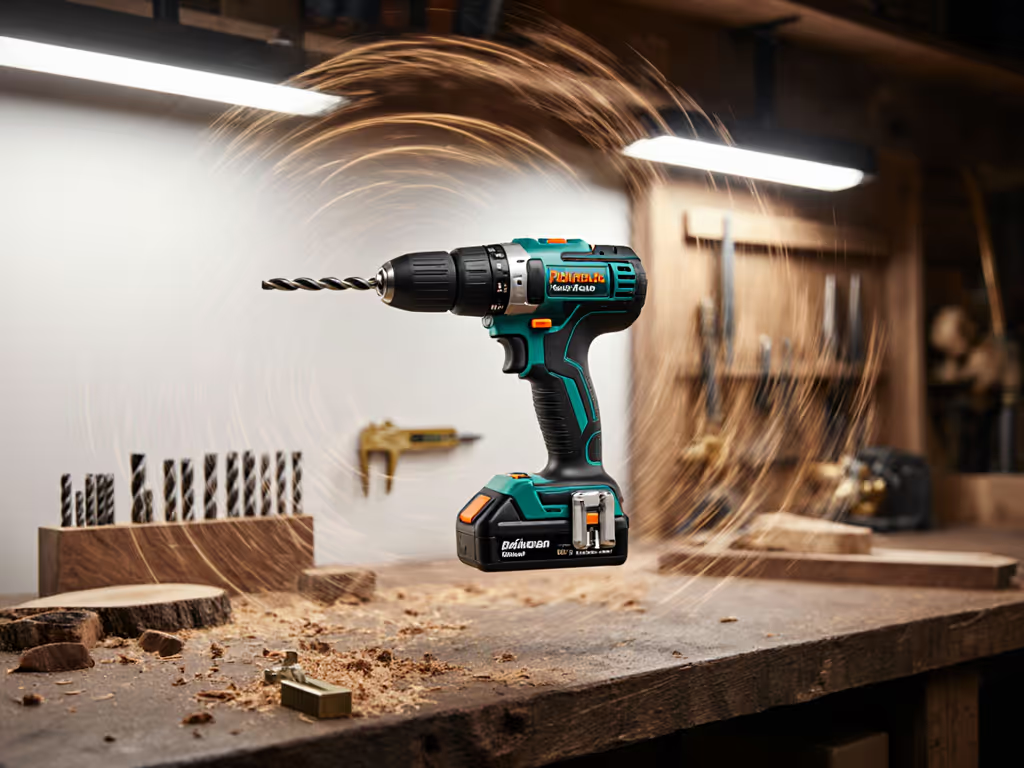
Step 2: Select & Configure Your Drill (Project Drives the Pick)
Remember my neighbor's bookshelf disaster? He used a 1/2" hammer drill when a compact tool with clutch control would've prevented the leak. For plumbing drill techniques, prioritize these settings:
- Clutch setting: Always set to lowest torque (3-5 on most drills). Water pipes need feather-light pressure.
- Speed: Low speed (0-450 RPM). High RPM melts PVC or cracks copper.
- Drill bit: Brad-point bits for wood, but PVC drilling tips demand sharper geometry:
- Use screwdriver bits for pilot holes in PVC (their tapered tips self-center)
- For copper, try step bits. They create clean, burr-free holes without puncturing opposite walls
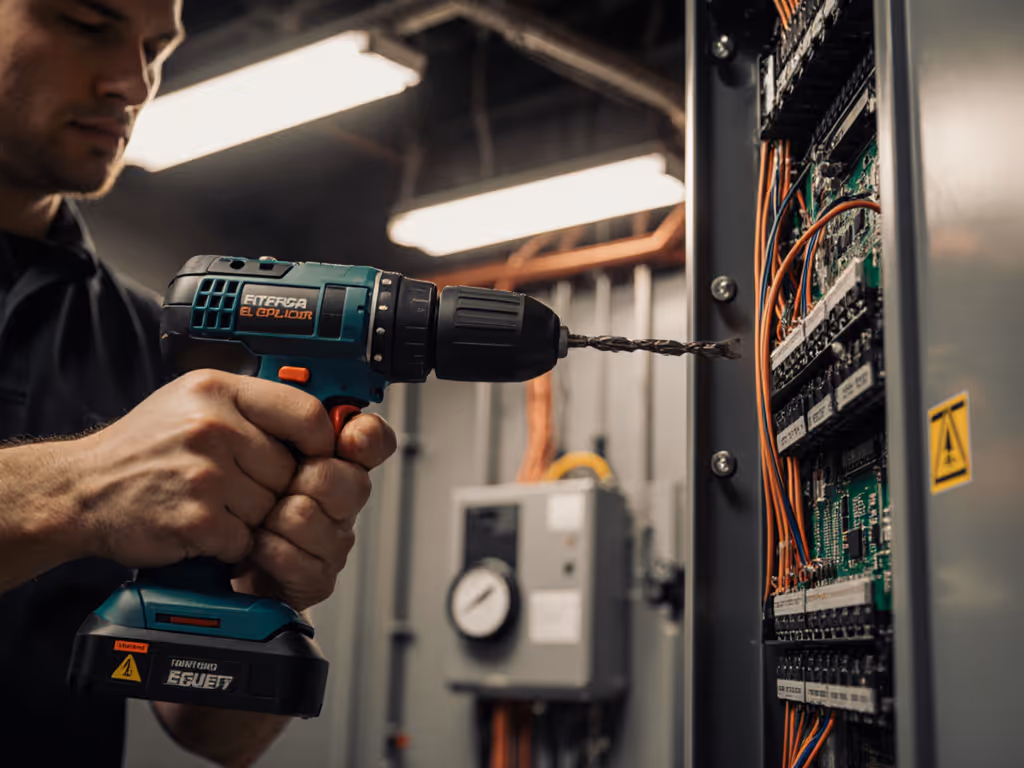
For tight spaces like under sinks, compact drills like the Milwaukee M18 FUEL shine. Their short length (under 7") prevents wrist strain during overhead work while the LED foot light illuminates shadowy pipe zones.
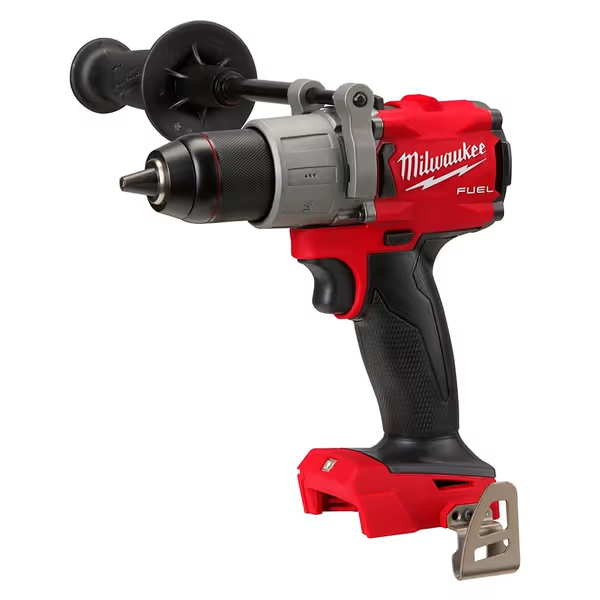
Milwaukee M18 FUEL 1/2" Drill/Driver
Unmatched power and battery life for demanding jobs, worth the investment.
$189.99
Peak Torque1,200 in-lbs
Peak Torque1,200 in-lbs
Pros
Delivers 60% more power for tough tasks.
Excellent battery life, compatible with M18 system.
Optimized electronics prevent overload damage.
Cons
Durability reports are inconsistent.
Occasional issues with trigger sticking.
This is by far the best Milwaukee drill I have owned it has all kinds of power and good battery life. Well worth the cost.
This is by far the best Milwaukee drill I have owned it has all kinds of power and good battery life. Well worth the cost.
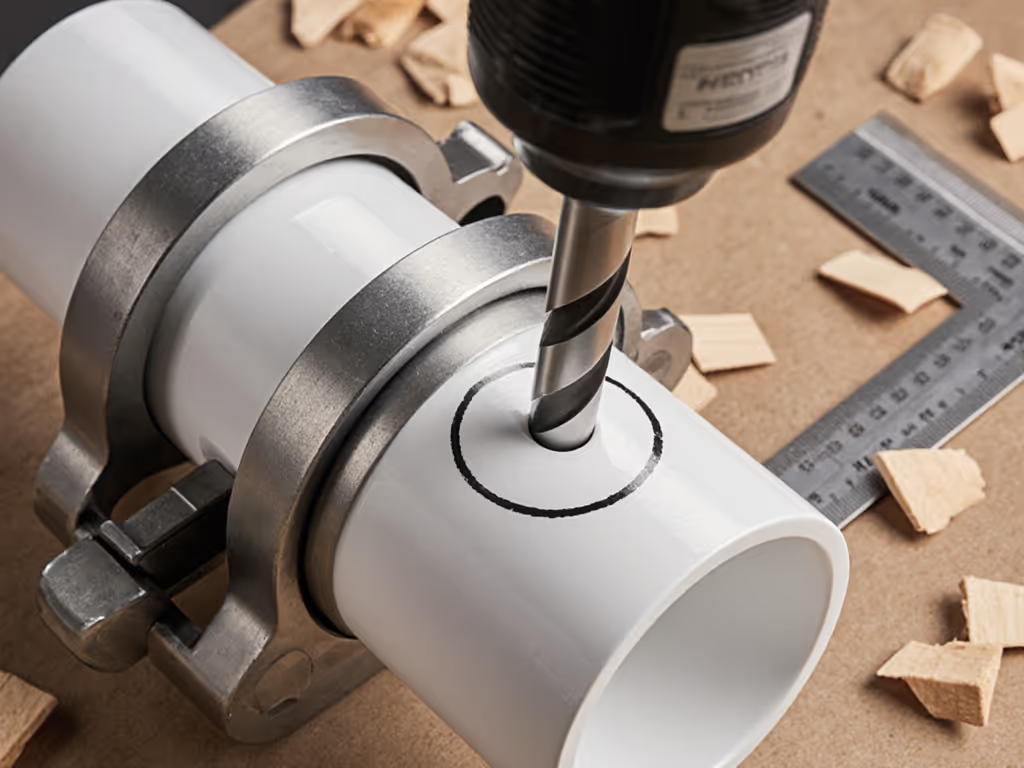
Step 3: Execute with Control (The Leak Prevention Sequence)
Water shutoff valve installation prep is useless without proper drilling execution. Use this workflow:
- Mark & dimple: Press a nail into your target spot to create a starter dimple, this prevents bit skating.
- Start slow: Apply zero pressure for the first 5 seconds. Let the bit's sharpness do the work.
- Listen actively: A healthy drill makes a smooth whirr. Screeching? You're pressing too hard, so lift immediately.
- Pause every 1/8": Withdraw the bit to clear shavings. PVC clogs drills faster than wood.
For leak repair drilling scenarios (like installing shutoff valves mid-line), drill perpendicular to the pipe, not at an angle. If keeping your bit aligned is tricky, follow our step-by-step guide to drilling straight holes. Angled holes create weak spots that fail under pressure. If drilling near existing fittings, use a hole saw with depth stop set 1/16" shallower than pipe wall thickness. When you must go through brittle finishes like tile or glass around plumbing, our specialty drill bits guide shows no-crack techniques and speed settings.
Step 4: Verify & Secure (The Confidence Builder)
Post-drill checks prevent 90% of "I thought it was fixed" call-backs. After drilling:
- Dry-fit hardware: Insert screws/clamps before reactivating water.
- Check for micro-fractures: Shine a light through the pipe, any hairline cracks mean replace the section.
- Slow reactivation: Turn water on partially for 60 seconds. Watch for drips at drilling sites.
- Test under load: Flush toilets/run sinks to simulate real pressure.
When my neighbor redid his project, we used these steps on brass angle stops. By setting the clutch to 4 and using a 3/16" screwdriver bit, he drilled perfect pilot holes without a single leak. That small win unlocked his confidence for bigger projects, like installing a whole-house water shutoff valve installation.
When to Call a Pro (Not a DIY Fallback)
These plumbing drill techniques work for:
- Installing fixture shutoff valves
- Mounting pipe clamps through wood framing
- Creating access holes for leak detection
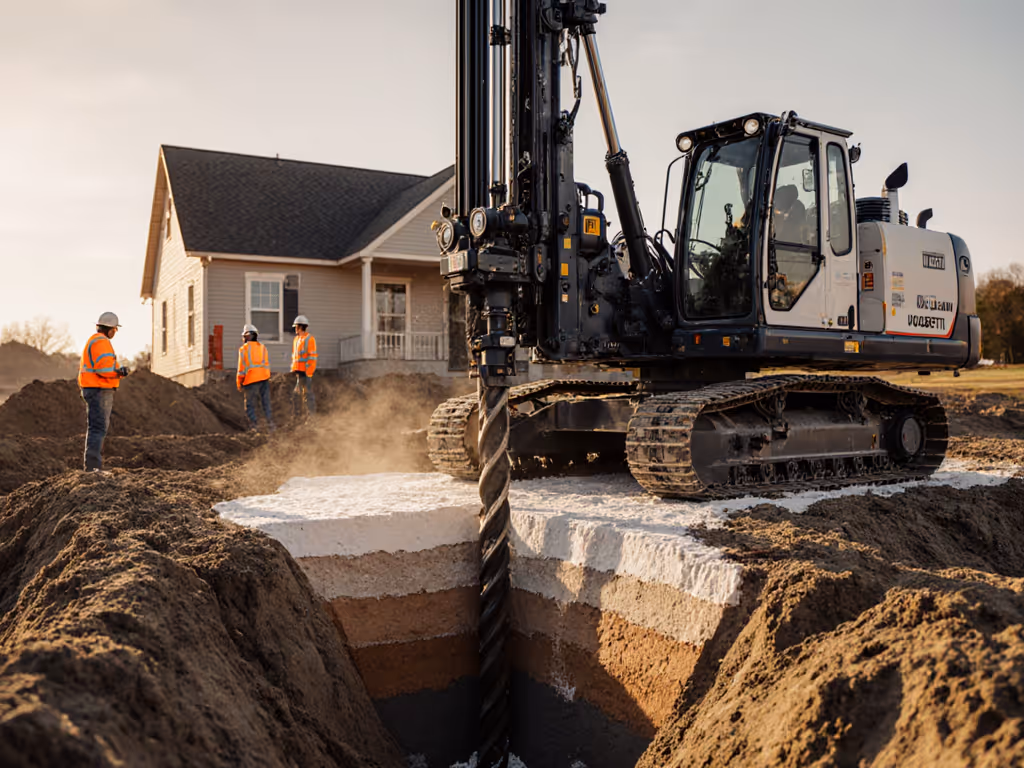
But call a plumber if you're:
- Drilling into pipes for repairs (epoxy lining or pipe bursting requires specialized tools)
- Working near main sewer lines (methane risk!)
- Dealing with slab leaks, remember those acoustic detection methods from Sewell Plumbing? They're not DIY-friendly.
Build Your Confidence, Hole by Hole
Precision plumbing drilling isn't about expensive gear, it is about respecting the consequences of every rotation. Start with the project, then match the drill and batteries. That compact drill sitting in your garage? With the right clutch settings and drill bit, it's perfectly capable of leak repair drilling success. Your first small win, a dry basement after installing a new faucet, builds the foundation for every project you'll tackle tomorrow.
Related Articles